Showing posts with label living room. Show all posts

Monday, March 23, 2020

New House Tour: Family Room

This room has probably had the least "love" in the house, but I still wanted to share what we've done so far. This room is in the back of our house and has sliders that lead to our deck and backyard. It also has a wood burning fireplace (that we haven't used yet). To start, here's what it looked like when we bought the house (these are listing photos, so it's the previous owner's furniture/decor):


Because of the entryway from the dining room, sliders, and fireplace, there aren't a lot of options for furniture. We don't use this room a ton right now, but I can see us using it for playing games, doing puzzles, etc. We had our Christmas tree in here since it had more room that our living room. Here's what it currently looks like:


Here's what we've done so far:
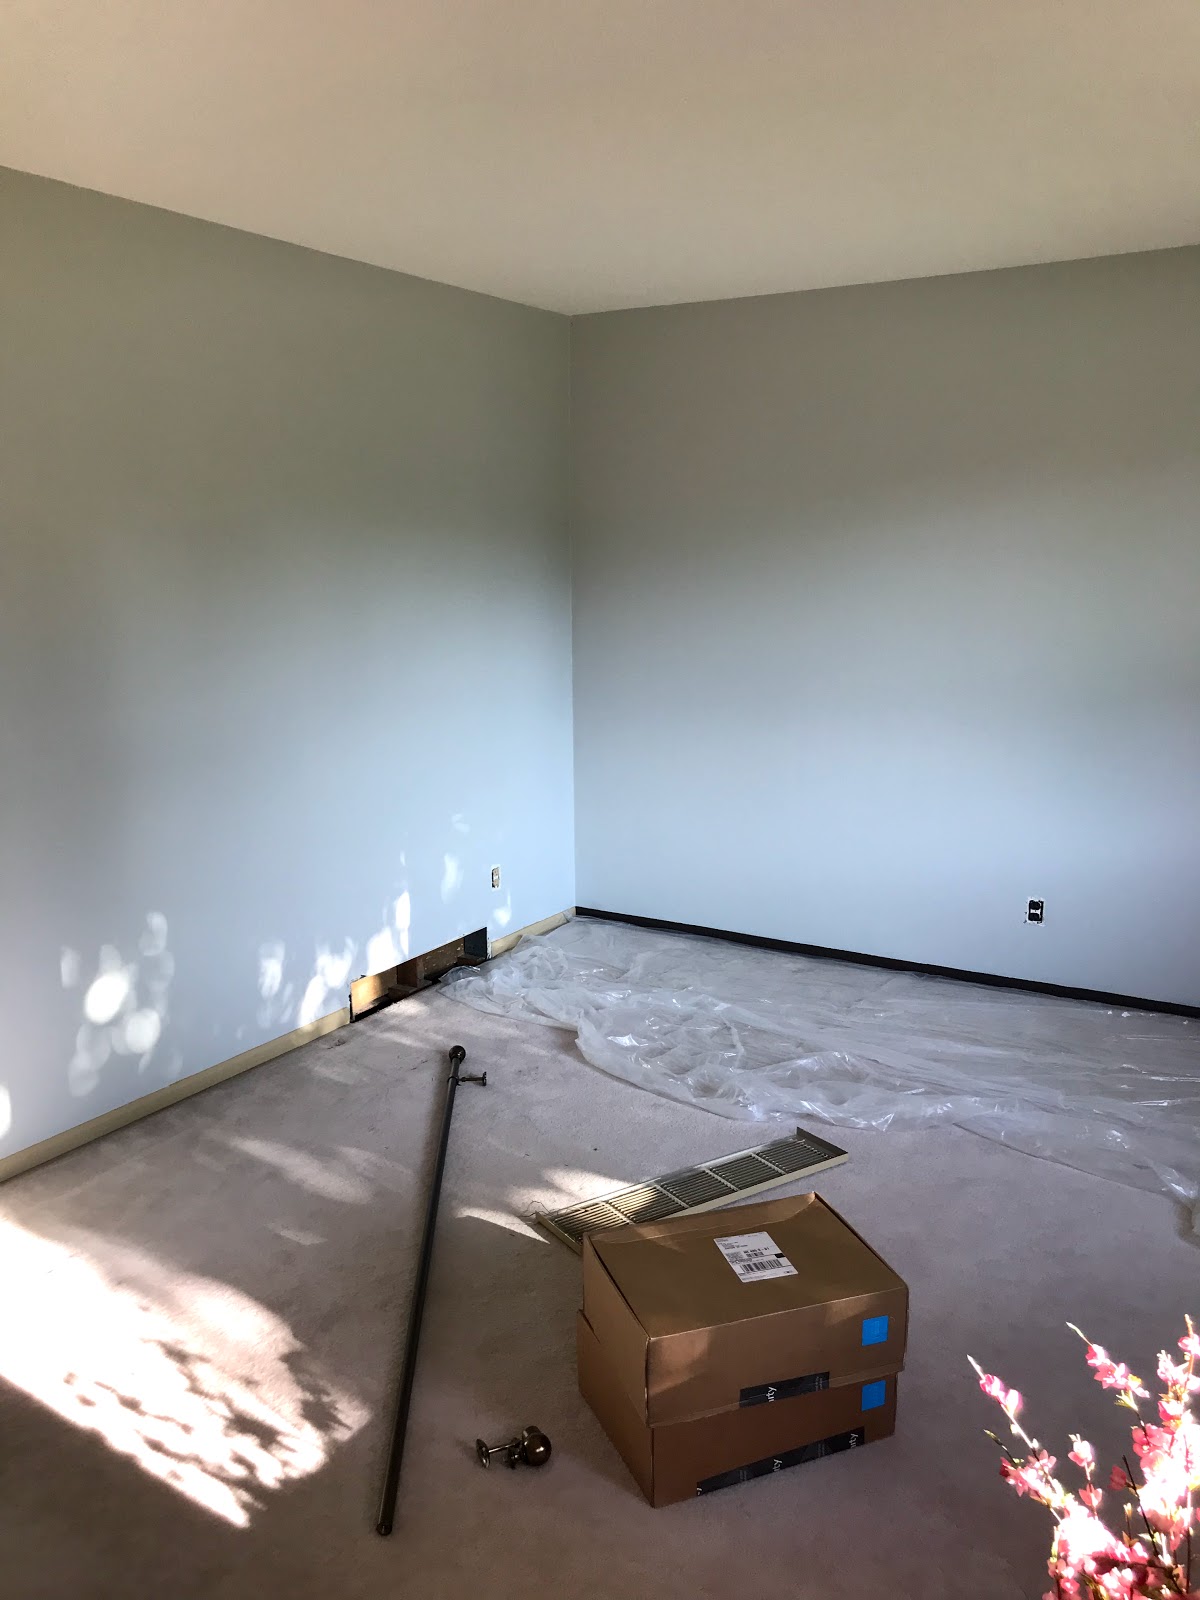
+ hired contractor to rip out carpet and put in new floors
+ painted walls, trim, and crown molding
+ spray painted fireplace surround to get rid of the gold
+ hung curtain rod, curtains, added some decor

Like I said, we haven't done a whole lot in here, but it's definitely an improvement from where it was. I still have several things I want to do:
+ paint built-ins white
+ whitewash brick 
+ add more/different decor
+ make little bar cart area in corner (where ottoman is currently)

I would also LOVE to make the opening between this room and the dining room bigger. Removing that entire wall would be ideal, so it could be one big open space from the family room to dining room to kitchen. Kevin's not in to that idea (I think he's just ready to be done with projects for a while), so I need to work on him a little.

And because I love before + afters so much, here are some side-by-sides:


Sources:
+ paint: Dolphin Fin by Behr
+ end tables: Ikea hack makeover
+ curtains: Target 


Tuesday, March 17, 2020

New House Tour: Living Room

Long time no see! I share a lot on Instagram, but I miss blogging and sharing more details here. I thought I'd start 2020 blog posts with a house update. I shared what our house looked like when we bought it back in August (we moved in September). We've done a TON of work since then. Still have more to do, but it's getting there. I love house projects, so I don't think it will ever really be "done." (I know Kevin will LOVE hearing that haha). I'm going to try to share one room every week or two on here. What it looked like before, what we've done, and what we still have left to do. 

Let's start with the living room. Here's what it looked like when we bought it:


This is our front living room, and the room we spend the most time in. It has our TV and our "comfy" furniture. We also have a family room, but that's used less often. (I'll share that room soon.) This living room isn't big, and it's also where our front door is, so I wanted to make a little entry area, which was challenging with a small space. Finley also has her little chair and lots of toys and books in this room, so we had to make it work for all of us. 

Here's what we did:
+ Hired flooring contractor to remove old floors and install vinyl plank flooring.
+ Painted all of the walls and trim (with help from family).
+ My dad replaced all of the outlets and light switches (they were all painted over).
+ New furniture (all sources listed at the end of this post).
+ New double curtain rod and curtains (and raised it).

goodbye ugly brown wall!

You can really see how not white the trim is in this picture.

The trim was painted the same color as the walls. Took several coats of white to cover that dark trim!


Goodbye carpet, hello new floors!
And here's what it currently looks like:


This room is so much brighter with the new paint on the walls and trim! I love it. It's small, but cozy, and perfect for us.

Since we don't have a coat closet by the front door, I added a runner rug and some coat hooks. I wanted guests to have a place to leave their shoes and hang coats or bags. We enter through the garage, so this is basically used when people come over.

Here's what I still want to do in this room:
+ Spray paint the vent covers so they match the trim color - I plan to do this in the spring so I can do it outside.
+ Add more to the gallery wall. 
+ New pillow covers. These are the pillows that came with our couch. They are fine, but don't really fit my style. I like the idea of new pillow covers so I can take them off and wash them (because a toddler + a dog = messes).
+ New TV stand
+ I'd love to add some board & batten to the front entry wall and do some more coat hooks
+ paint front door
+ get another lamp

I love seeing before & afters, so just for fun, here's a couple of side-by-side comparisons:


+ wall color: Dolphin Fin Grey by Behr (same color I had in our old house)
+ couch and recliner: Art Van
+ end tables: Amazon - one holds Finley's toys in the bottom and one holds our magazines
+ living rug: Target I have the 7'x10' size
+ entry jute runner rug: Wayfair
+ coat hook: Marshalls
+ curtains: Amazon (sheer curtains + tan curtains)
+ double curtain rod: Bed, Bath, & Beyond
+ tv stand: old from Walmart 

Thursday, August 13, 2015

Living Room Style

We are slowly, but surely making our house a home.  This month marks three years since we bought and moved in to our first house.  We LOVE our house, but it has taken sooooo much longer than I imagined to get things how we want them (or should I say how I want them...my husband is fine with whatever).  We've painted a few rooms and done some little projects here and there, but I still have so much I want to do.  I mean, it took me nearly three years to finally fill the blank wall above the TV with this DIY Starburst Mirror!


The room we spend the most time in is our living room.  I have so many things I want to do in this room including paint, curtains, a new rug, and new furniture.  New furniture will be a big expense, so that probably won't happen soon, but I do want to keep that in mind when decorating the rest of the room, so that the furniture will fit with the rest of the room's style.

I recently found out about the site called Chairish, which is an exclusive curator approved, online marketplace for vintage furniture.  Our living room is small, so there is not a lot of room for big pieces, but we do want to enough seating for when we have people over.  I would love to find a fun chair that fits in out living room better than the one we currently have.  That's where Chairish comes in.  They have so many great, fun chairs to choose from!  I had a hard picking one to incorporate in my living room style board, but I did it :)  Here is what I am thinking for our living room:


Living Room Inspiration


I want something light and comfortable, with little pops of color here and there.   It's so hard for me to make up on my mind on things I want in a room, especially big pieces.  I'm hoping to slowly pull it all together over the next year or so, since I finally think I know what my "style" is.

Is decorating your home a long process for you too?  Or does it come easy for you?  If it comes easy for you, tell me your secrets!! :)


*I was not compensated for this post.  All thoughts and opinions are my own.*

Monday, August 3, 2015

DIY Starburst Mirror

The space above our TV in our living room needed something...something big.  I purchased a clock a couple of years ago and hung it above the TV, but it didn't like right, so I returned it.  The wall was left empty and it drove me crazy...until now!  I love the look of the starburst mirrors I see in the stores and the DIY ones I've seen on Pinterest, so I decided to make my own.

I purchased all of my supplies from Hobby Lobby and Menards, but any craft store and hardware store should have everything you need.


Supplies From Craft Store
Round mirror
Wood circle (from clock building area at Hobby Lobby)
Hot Glue Gun (and glue sticks)
Supplies from Hardware Store
Wood Shims (I used 8" and 12" shims--the amount depends on how big your mirror is.  I think I used 2 packs of each size.)
Wood glue

First I glued the wood circle to the back of my mirror using wood glue.  I clamped it, and let it dry over night.

While that was drying, I spray painted all of my wood shims (both sides).


Once everything was dry, I glued the 8" shims on the back of my mirror, using hot glue.

Then, I glued the 12" shims in between each of the 8" shims, using hot glue.

I didn't take a photo of the next step, but in order to hang it, I used hanging wire. I used a staple gun and put two staples on the back of the wood circle.  I put the staples 2-3" apart, and then I wrapped the hanging wire around each staple to create a hanger.  I put a nail in the wall, and hung it up!  I think some wood circles may already have a hole in them for hanging--so you might want to look for one like that and save yourself a step.


I love the way it looks hanging in our living room!  It adds some personality to that blank wall and adds a pop of color to the room too.  It would also look great in a bedroom, hanging over a bed.


Dolen Diaries

CraftyAllie

“Mrs.AOK,

ItsOverflowing

Monday, January 12, 2015

Coffee Table Makeover: Wood Plank Table Top (Ikea Hack)

I hope you had a great weekend!  We spent ours finishing up our coffee table and end tables.  I LOVE the way they turned out and I'm so excited to share them with you today!

We got our coffee table and end tables from Ikea about four years ago.  They were cheap, and they did their job, but the lack/laminate finish was starting to chip and bubble.  I didn't really want to spend a lot of money on new tables, and I had seen some great makeovers where people added wood planks to their tables.  I really liked the way those looked, totally my style.  When Melanie from Making It In The Mitten shared her coffee table makeover, I convinced my husband we should do the same to ours.  And when he got a miter saw for Christmas, he agreed (I think it was just so he had an excuse to use his new saw, but whatever works).

Last weekend we re-did the coffee table and this weekend we did the end tables to match.


I didn't take any photos of the process of doing the coffee table because I was too excited and just wanted to get it done.  But don't worry, I took some pics when I did the end tables and the process is exactly the same.

First, I took the table apart and lightly sanded it all with 120 grit sand paper.  I also sanded all of the wood planks on both sides and the ends.  I kind of rounded the ends so they weren't rough.


Then I cleaned all the wood off and painted one coat of primer and two coats of white paint.  I just used paint and primer that I already had at home.  I let them dry overnight and then added one coat of clear polyurethane to protect the paint from chipping.


I used Minwax stain that I already had at home to stain the boards.  I let those dry over night too.  And of course I decided to do all of this in winter with a foot of snow of the ground, so I did all of this in my basement.


After everything was dry, I put the table back together and had Kevin help me screw the boards to the top of the table.

At first we just used wood glue to attached the planks to the coffee table.  We put large stacks of magazines on it over night to weigh it down while the glue dried.  It held ok until Kevin and Admiral were messing around and hit the end of the table.  The boards came unglued.  So we decided to screw  the planks to the table.  We used black screws which blend in pretty well with the table and I'm very happy with the way they turned out.

And now for the fun part, all of the pictures!


I took the pics of the end table last night, so the lighting is horrible--sorry!


I am so happy with the way this turned out!  I think it makes the Ikea tables look a lot nicer.  I'm hoping this allows us to get a few more years out of them :)

If you're looking for other DIY coffee table ideas, check out this post: Drink in These Decadent DIY Coffee Table Ideas.


Oh andI have to share this photo.  I was taking "before" photos of the coffee table and Admiral decided to photo bomb me.  I showed my husband this picture and we were both cracking up.  Hope you get a kick out of it too :)


So excited to have been featured on:
Featured at Home Matters Linky PartyPig & Dac


Linking up with:
Burlap and BabiesDolen Diaries
Home Matters Linky Party - Grab Button


CreativeCrafty AllieThe Bajan Texan